

Create an exceptional cake to celebrate an exceptional birthday: this is the challenge that KitchenAid launched to me on the occasion of its 100 years. I, who have been working with the brand for several years already, took up the challenge with joy!
A century of creation
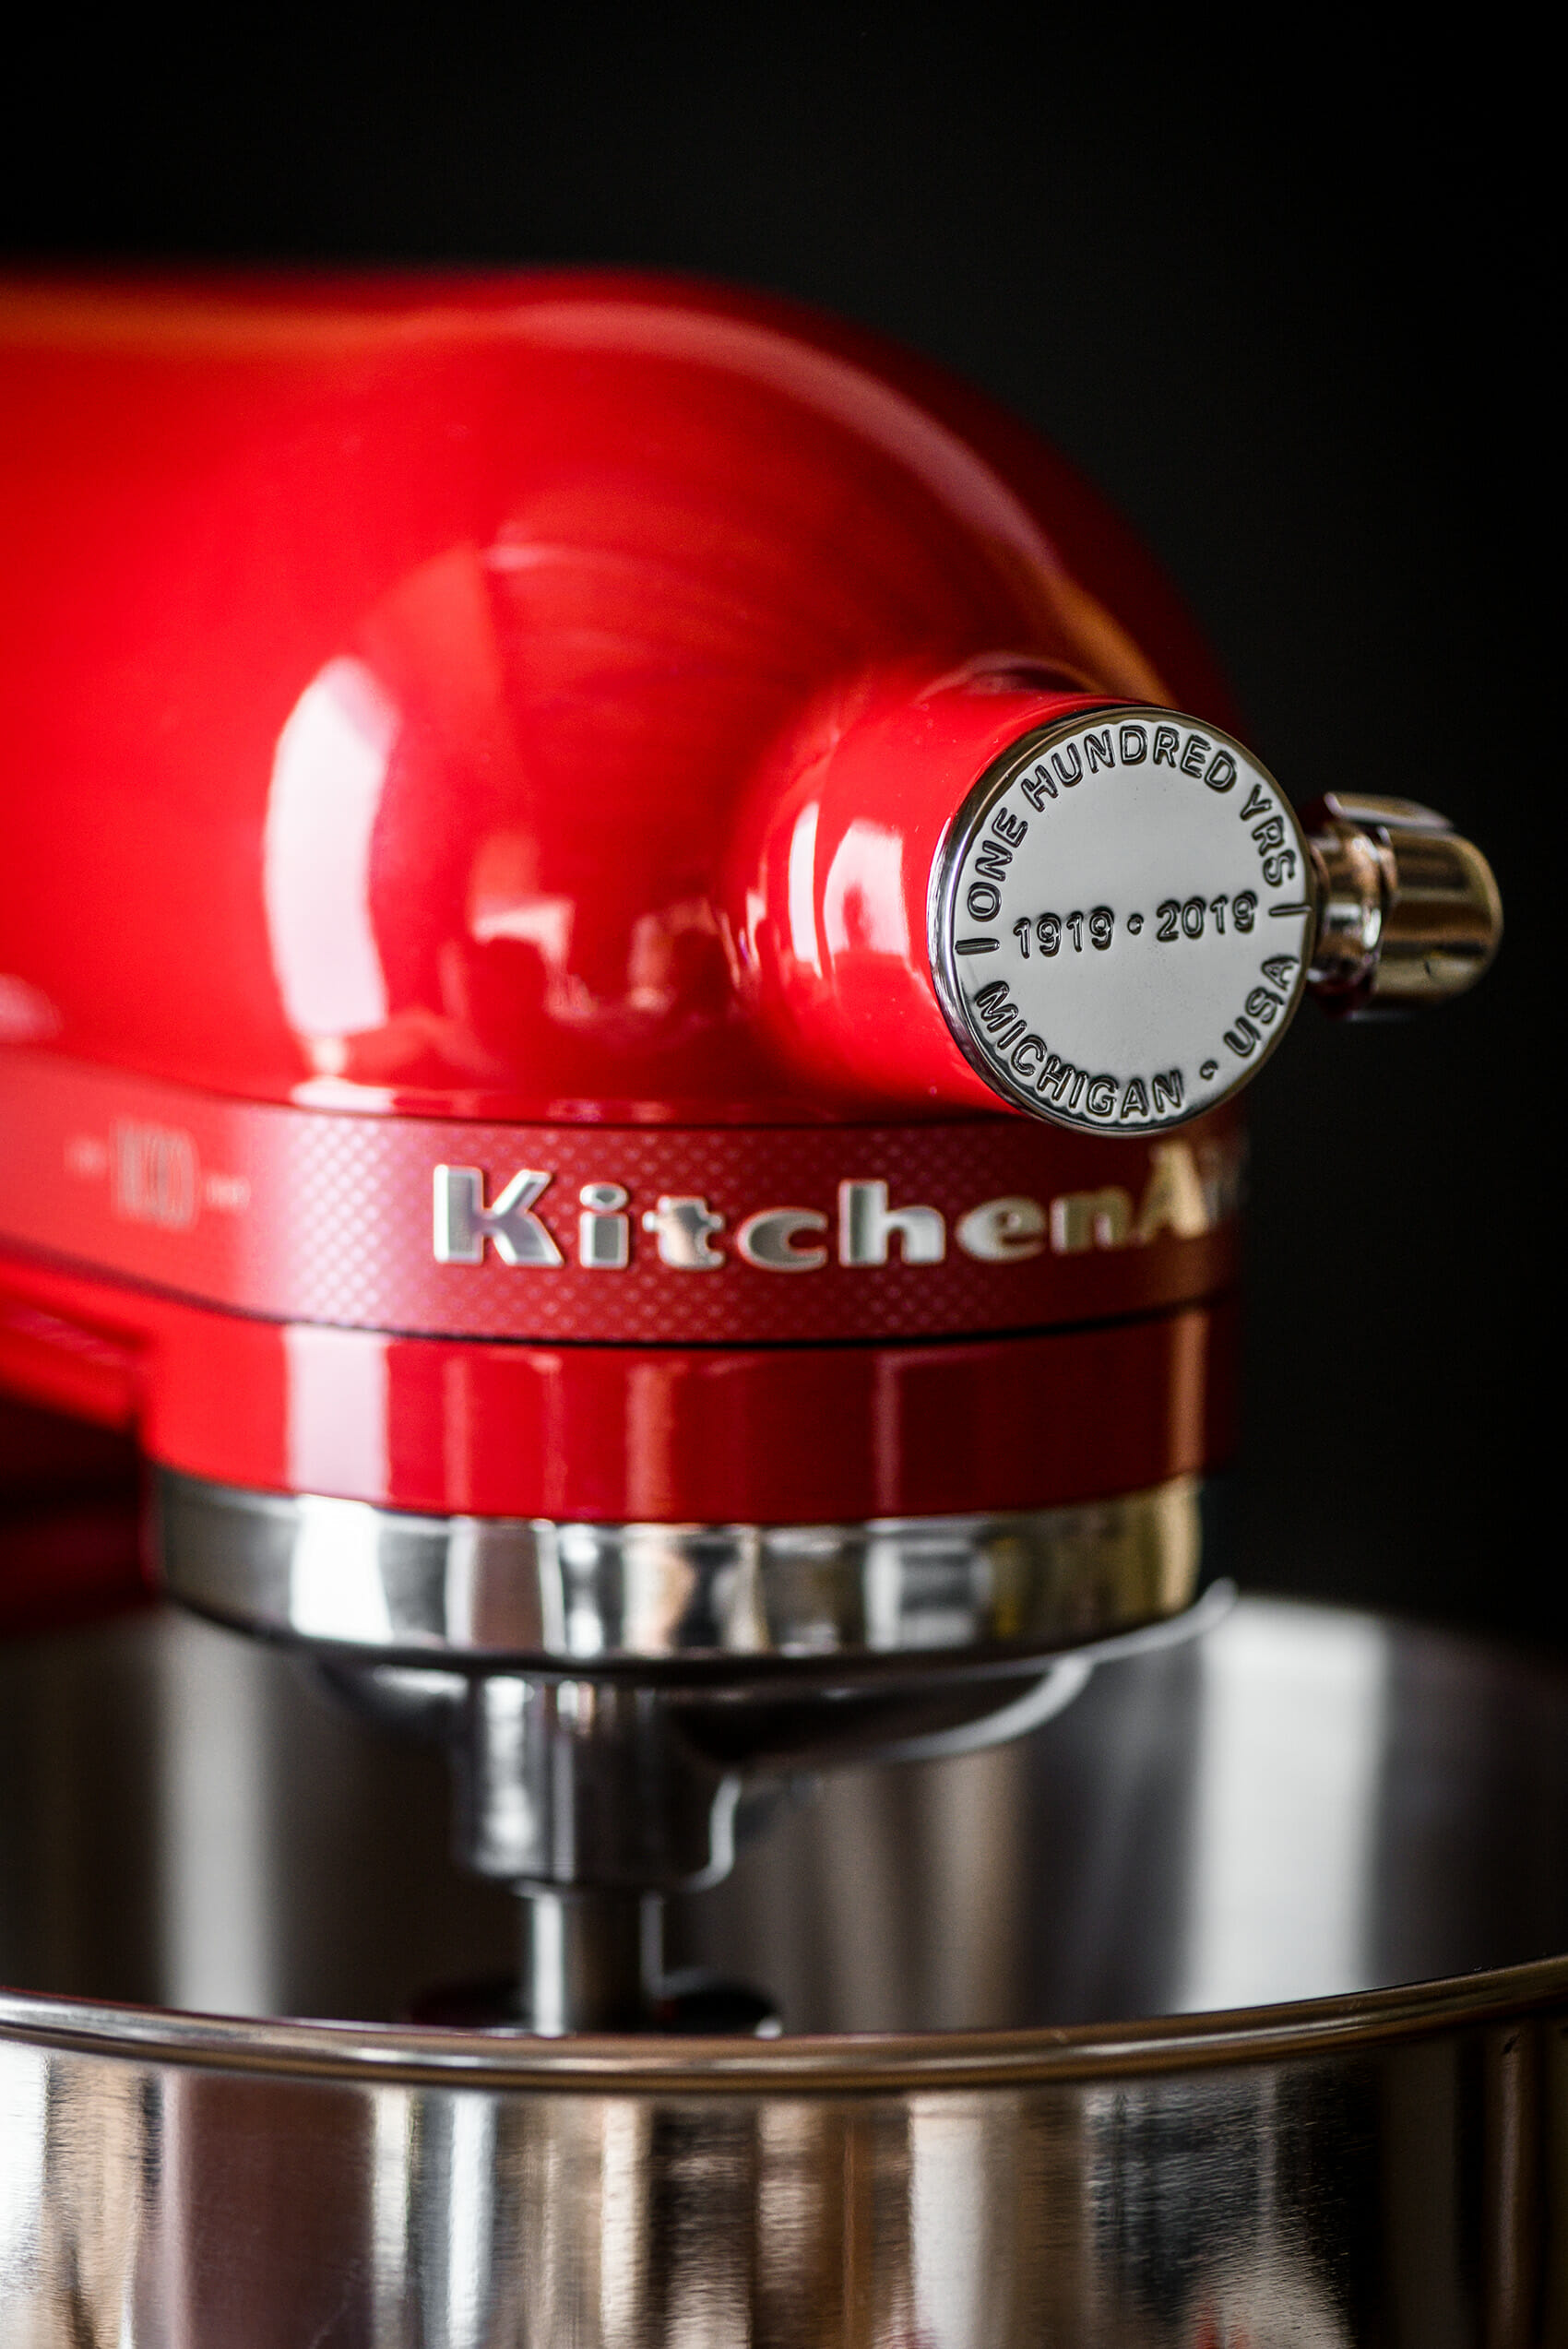
In 1919, the first KitchenAid mixer saw the light of day and since then, a whole range of household appliances proudly sits on countertops around the world. The best known is undoubtedly their multifunction pastry robot (which I myself have been using since the beginnings of the blog, that is to say almost 9 years ago…).
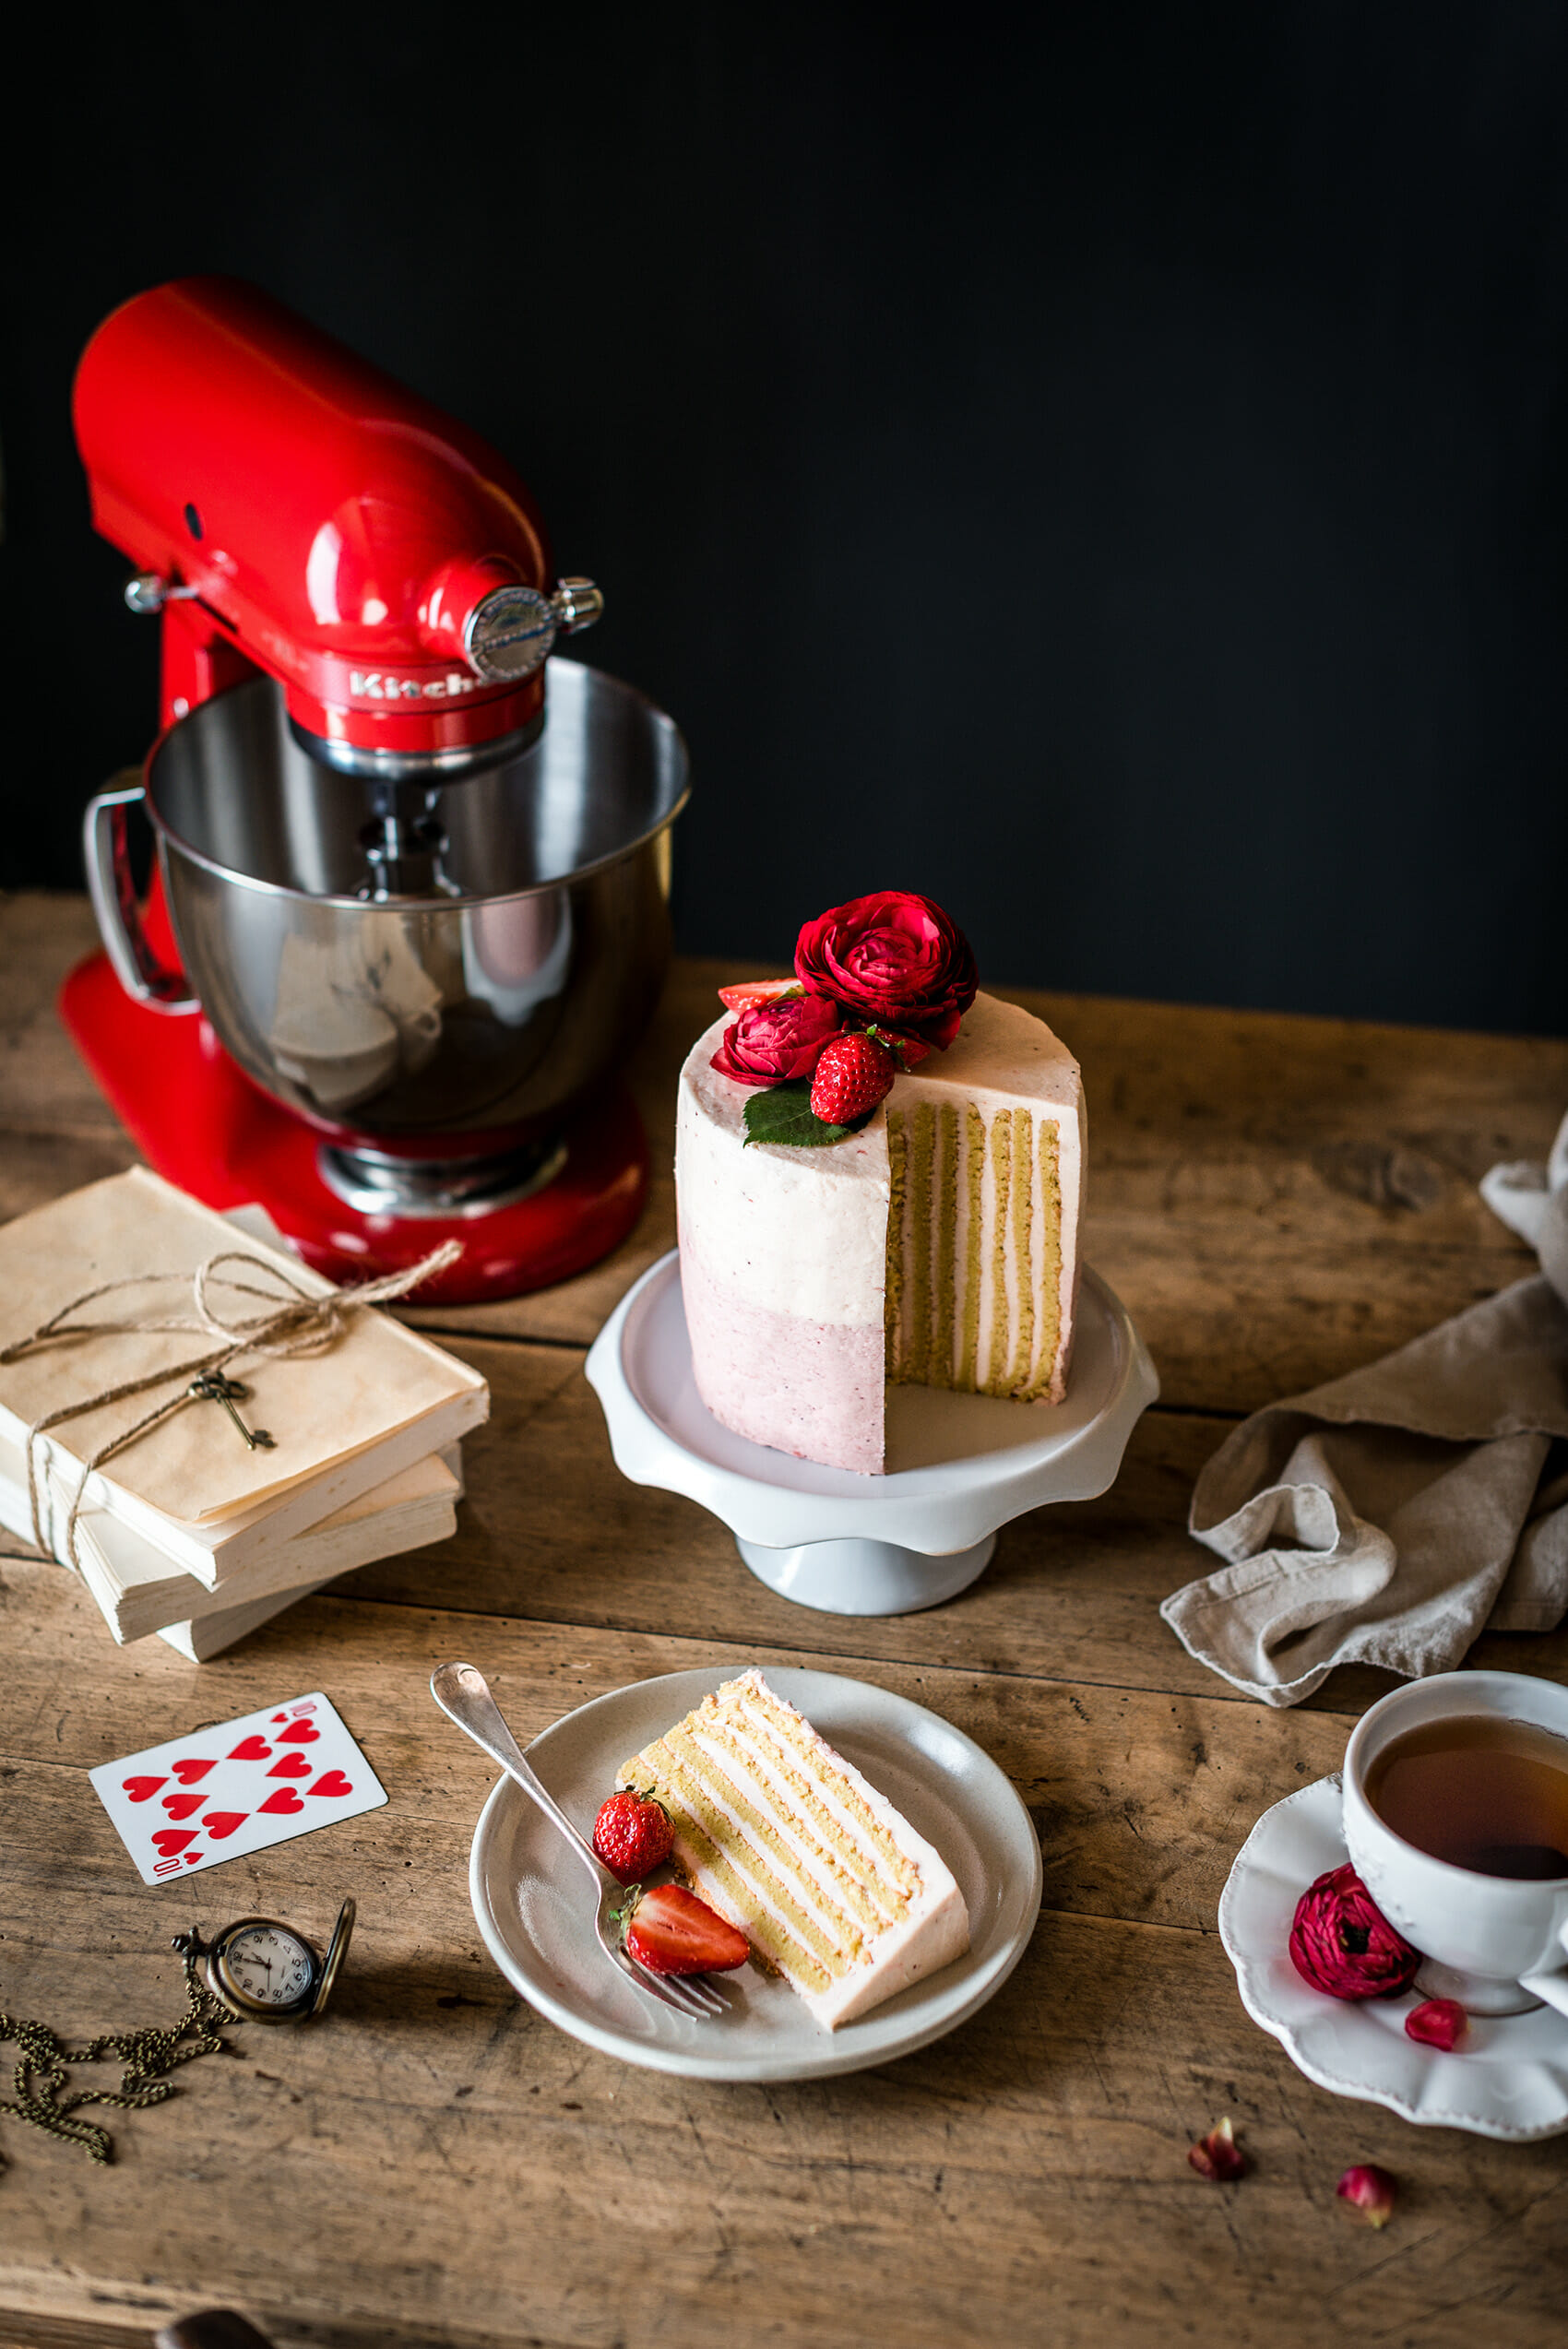
To mark this rather exceptional anniversary, KitchenAid has created a special – limited edition – collection called "Queen of Heart" which will not go unnoticed with its passion red color. A design recognizable in a thousand and high-end chrome details. In addition to the pastry robot (which you see here on my photos), the collection also includes the blender, the mini food processor and other iconic appliances of the brand (such as the hand mixer which I will tell you about soon…).

Once upon a time there was gluttony ...
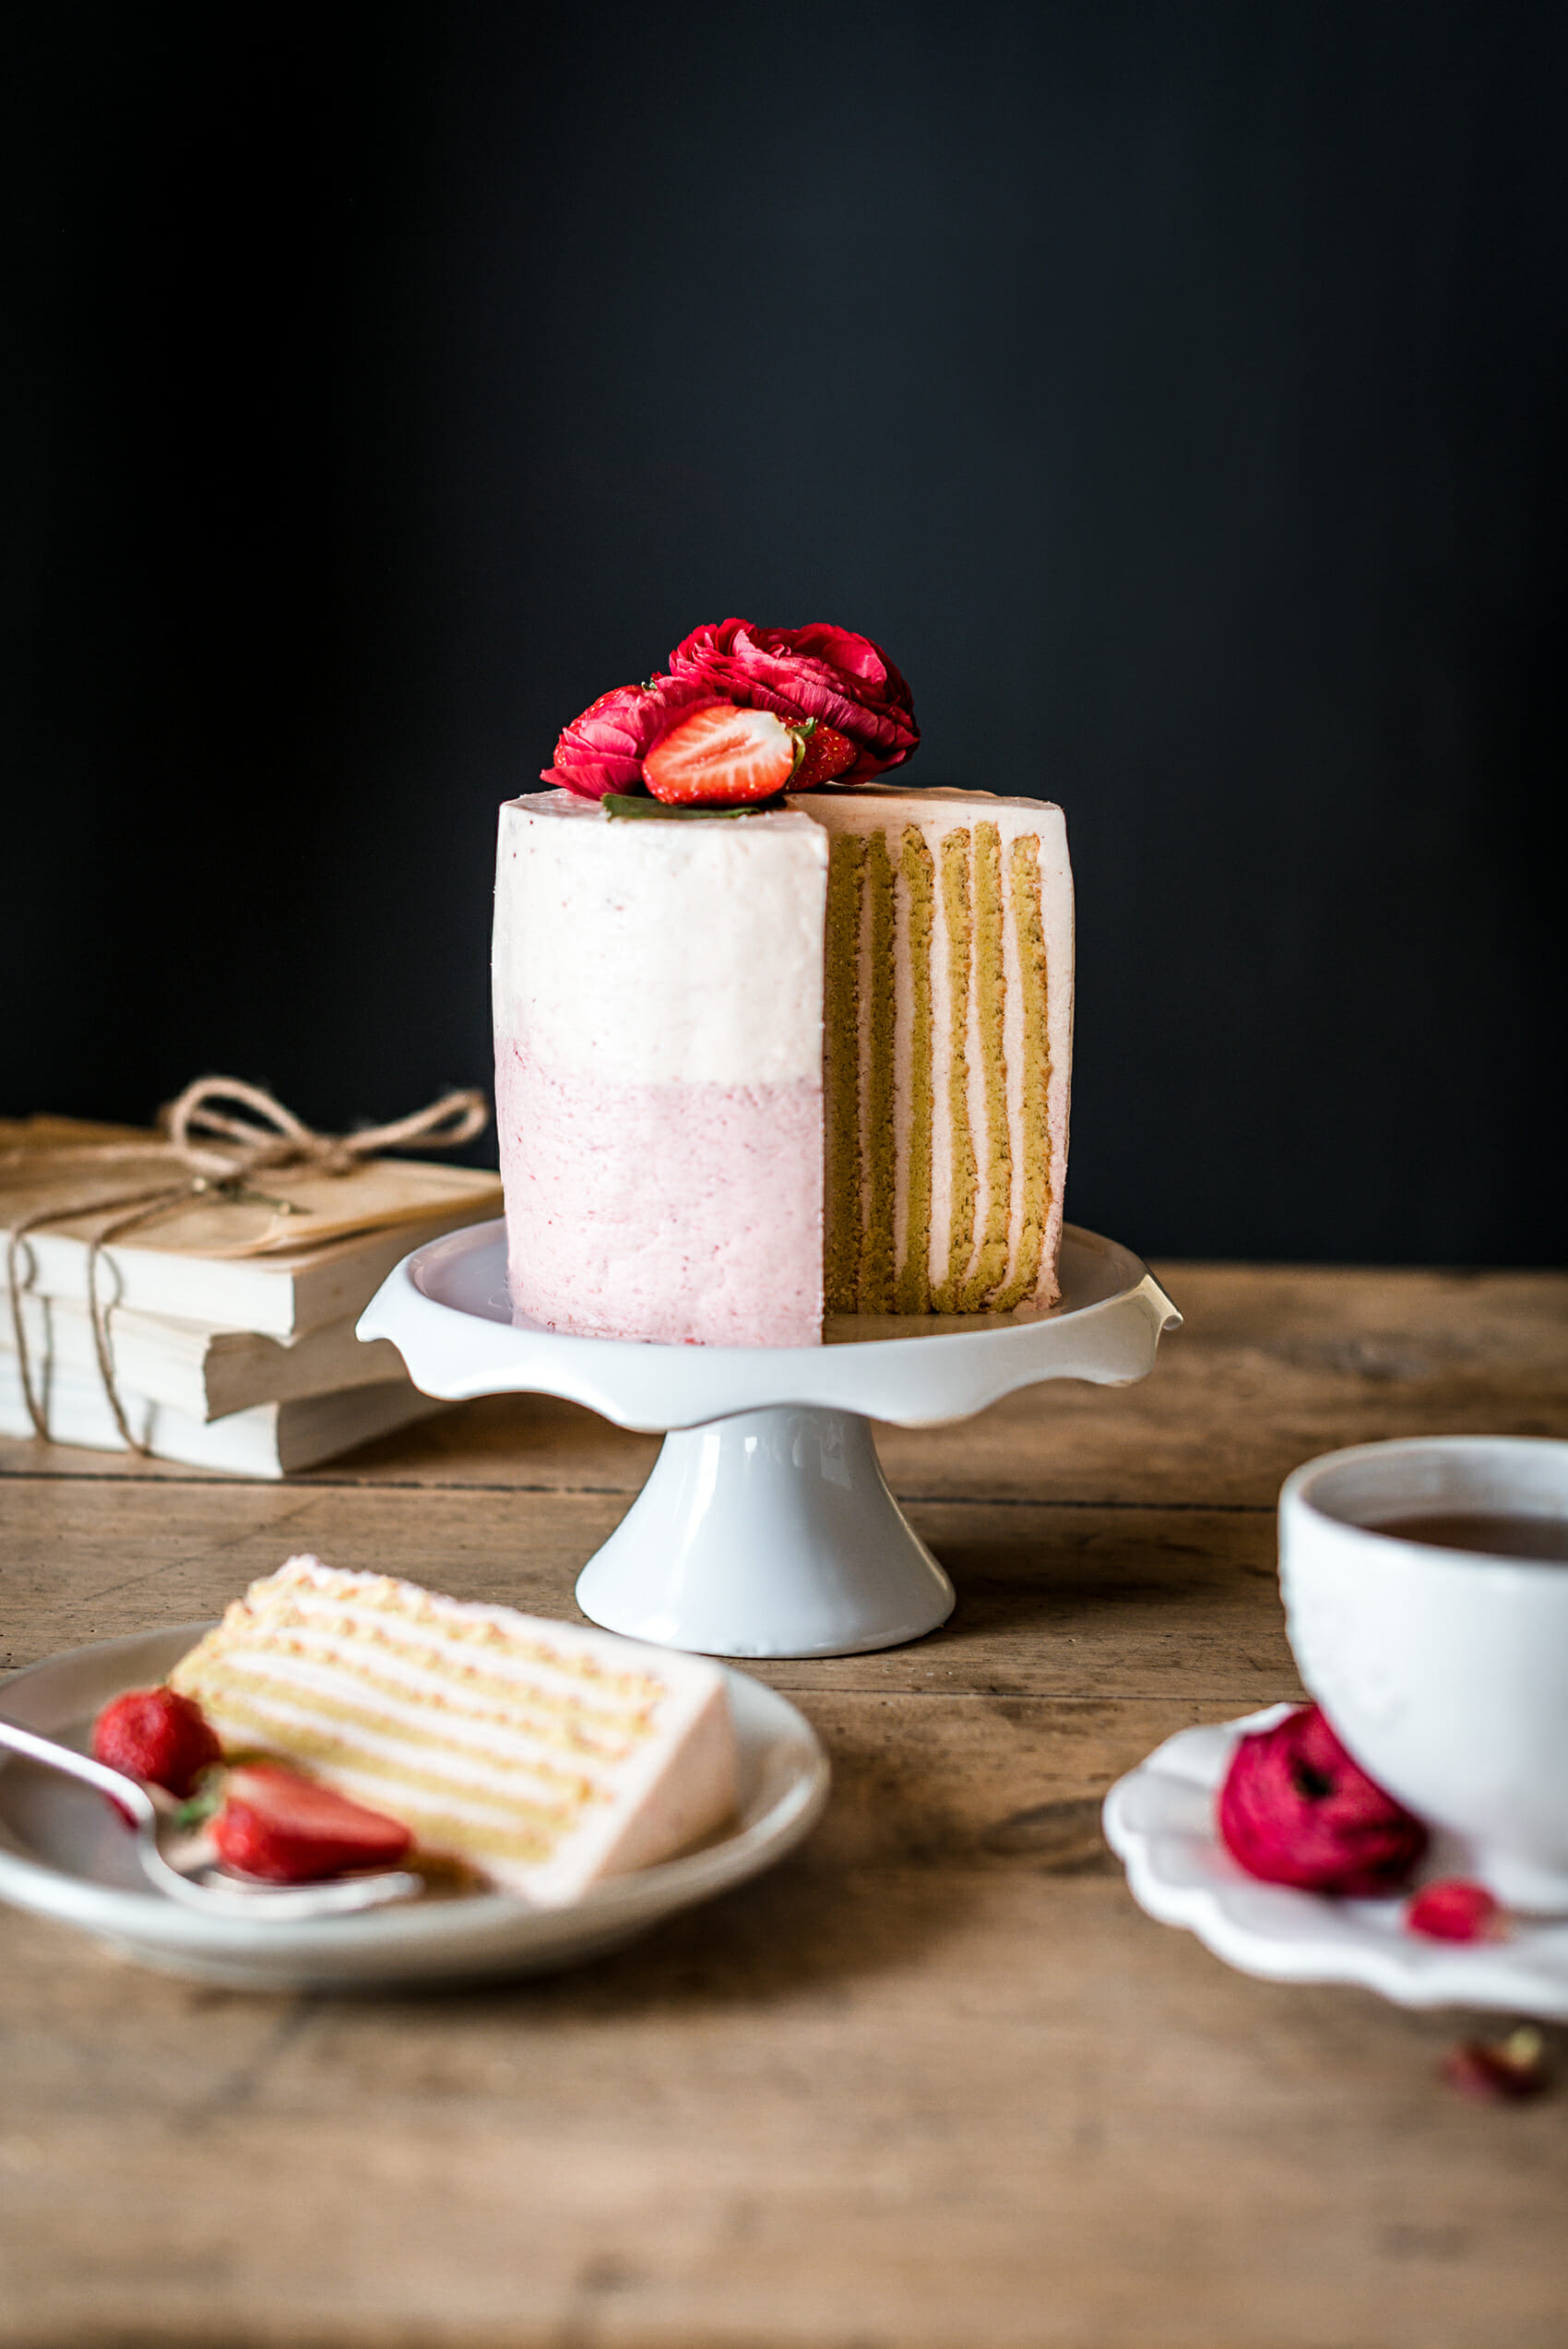
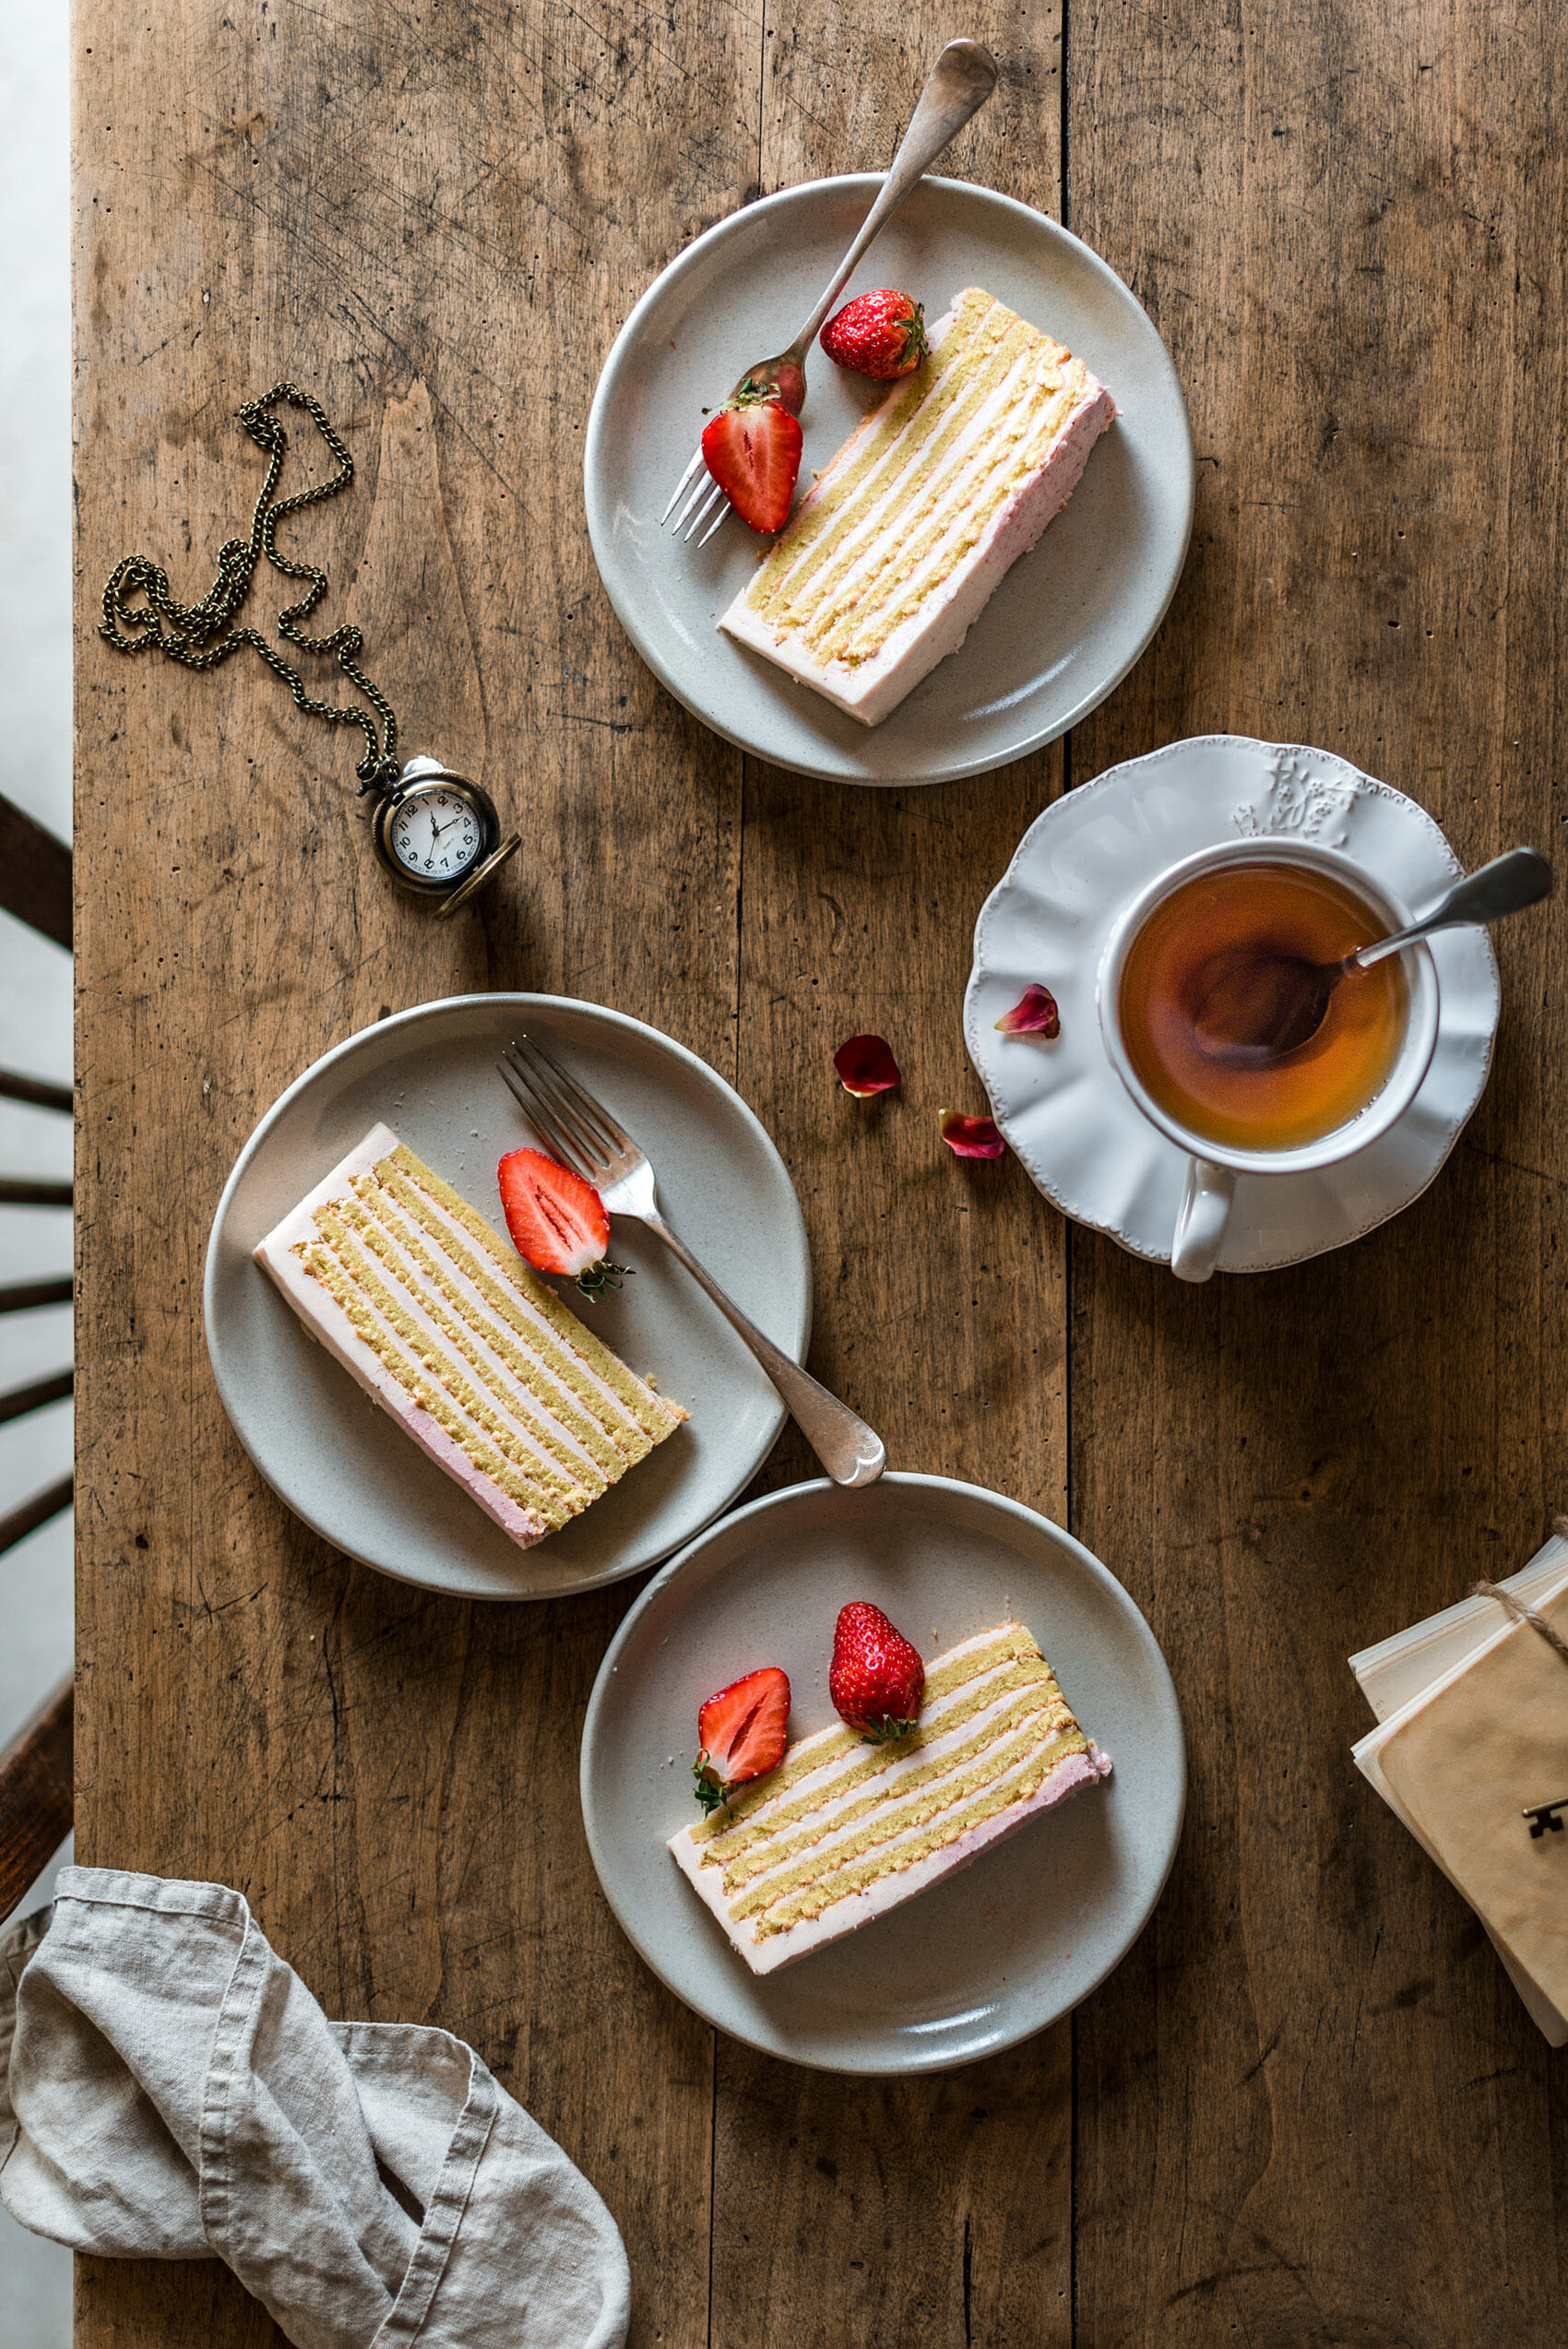
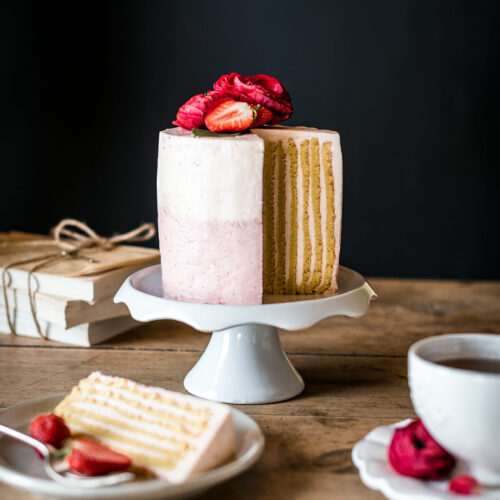
Doesn't the “Queen of Hearts” theme remind you of our dear Alice? Of course yes ! So, let's embark together towards a gourmet and magical world with a birthday cake to garnish with 100 candles;) A layer cake yes, but not just any: a vertical layer cake! No more complicated to make than a classic layer cake, it is just as tasty. It is made like a rolled log, except that at the end it is placed vertically on its serving platter. Surprise guaranteed at the time of cutting ...
On the flavor side, I opted for sweetness and seasonal products: here well-scented strawberries with which I made a puree to flavor the icing. Pretty red strawberries to accompany this flamboyant red limited collection.
Do you want to discover the recipe for this vertical strawberry-almond layer cake? So go to the bottom of the article;)
- Genoese
- - 9 eggs
- - 180g blond cane sugar
- - 85g flour
- - 30g ground almonds
- - 1 / 8tsp salt
- - 1tsp liquid bitter almond
- - 30g icing sugar
- Strawberry puree
- - 390g ripe strawberries
- - 25g cane sugar
- - 1tbsp lemon juice
- Icing
- - 315g very soft unsalted butter
- - 315g mascarpone
- - 2 5tbsp full cream
- - 115g icing sugar
- Preparation of the strawberry purée: in a saucepan, pour the strawberries previously hulled and cut in half, with the sugar and lemon juice. Cook for about 5 minutes over medium heat, stirring occasionally. Mix then pass the preparation through a Chinese to obtain a creamy sauce. Let cool then set aside at room temperature for the rest.
- Preparation of the sponge cake: preheat the oven to 200 ° traditional heat. Prepare a 26x36cm sponge cake pan: butter and place a baking paper in the bottom to help release from the mold. In the bowl of the food processor, pour the whites and 2tbsp of light sugar. Using the whisk, beat at medium / high speed until you obtain creamy snowy whites that form a bird's beak. In a separate bowl fitted with the flat beater, beat the egg yolks and remaining sugar until they turn pale and creamy, about 3 minutes. Add the bitter almond, salt and powdered almond then mix. Sift the flour over the bowl, mixing as little as possible (so as not to make the sponge cake brittle), just enough so as not to have lumps. Incorporate the egg whites into the previous preparation using a spatula, taking care not to mix too much: the dough obtained must be extremely light.
- Pour half of the dough on the baking sheet, smooth with a spatula and bake for about 13 minutes until golden brown. Leave to stand for 5 minutes then sprinkle with a little icing sugar. Cover with a large tea towel and turn everything over. Remove the baking paper and roll the sponge cake with the tea towel to form a roll. Set aside until completely cool. Bake the second sponge cake with the remaining dough, following the same instructions.
- Preparation of the icing * mascarpone and butter must be at the same temperature (taken out of the refrigerator at least 2 hours before making the icing). In the bowl of the food processor, pour the diced butter. With a flat mixer, beat until pale and creamy, about 5 minutes. Add the mascarpone then beat again at medium / high speed so that the two textures unite (if small lumps appear, continue to beat, the two ingredients will end up mixing). Add the liquid cream, then the icing sugar. Then pour in about half of the strawberry puree. Continue to mix until you get a creamy pink icing. Keep 1/4 of the icing for a more intense color by mixing it with the rest of the strawberry puree.
- Assembly: cut each sponge cake in half to obtain 4 strips 13cm wide. With a spatula, garnish each strip of sponge cake with a not very thick layer of clear icing. Roll the first sponge cake on itself and then load another sponge cake so as to form a large roll at the end. Place this roll vertically on the serving platter. Refrigerate 10 minutes to firm it up. Fill 2 piping bags with icing: one light, the other dark. Then use a pastry bag to place the dark frosting on the bottom half of the cake, then the light frosting on the top of the cake and on top. Smooth with an angled spatula, without overloading the icing. Decorate as you wish.
* the icing on its own can be kept in the refrigerator for a few days or frozen in an airtight box.
A little extra for my readers:
15% discount on the KitchenAid website with the code LILIEBAKERY15 (valid until June 30, 2019).
* content creation (recipe, visuals) for KitchenAid France


Whoa! What a beautiful creation and it looks so good :)
The photos are superb and really make you want!
I'm going to bake it for my son's birthday. But there's something I'm not sure about regarding the assembly.
The cake is 36 cm high ??? When we roll up during assembly we roll the 13 cm side or the 36 side?
Hello, it's 13cm high :)
Hello, thank you very much for this recipe which I will try next week.
Quick question regarding the icing, in the ingredients you noted 2 5 tbsp of liquid cream.
I think it's 2,5 and not 25 to loosen the butter and mascarpone but in doubt I prefer to ask you?
Thank you for the feedback
Marine
Hello Marine, this is an old recipe for which I am missing the written record. I think like you 2,5 tablespoons for the icing. 25 would be huge :) See you soon